
Home Page Protect With MNSLock
How To Protect Your Termux With MNSLock
By this post, you will learn how to password protect Termux using just one command and after this post, no one will be able to use your Termux without your permission.
When we use Termux we install many packages as well as GitHub projects that help us in all kinds of hacking, sniffing, information gathering but it also includes important information like public IP, open ports, etc.
All the tools that make up Termux come with. The level of vulnerability in your system like turning on digging mode or opening ports that are hotspots. If someone knows what you are doing there then you are more likely to get hacked or you will hack them (not in all cases of course).
Sometimes people use your phone to attack other people’s systems to protect themselves from getting caught. (e.g. people may casually use SMS bombing attacks and put them into someone’s phone to take revenge).
Although if you are the only hacker in your friend circle then you don’t need password protection but sometimes people get curious and try to use your apps as well as Termux and to protect your privacy you can use this Termux-Lock.
Although if you are the only hacker in your friend circle then you don’t need password protection but sometimes people get curious and try to use your apps as well as Termux and to protect your privacy you can use this Termux-Lock.
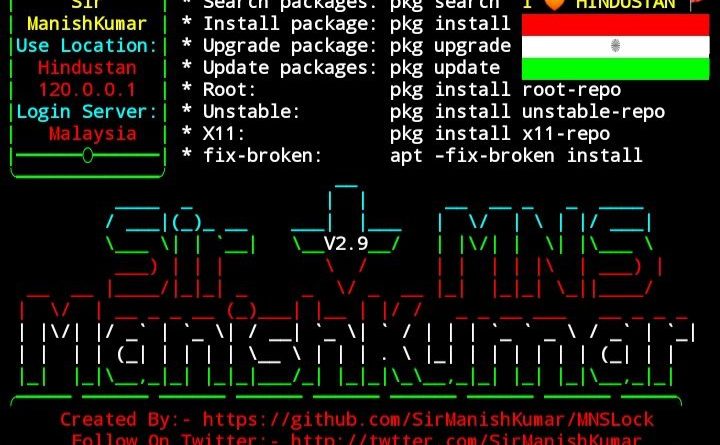
This MNSLock tool is originally created by SirManishKumar from this Github page . This tool will only ask for the password before using Termux and will do nothing more than that.
Protect Your Termux By Using This Command.
Step 1:
To enable lock feature in Termux you need to perform list of commands, simply copy-paste the below command in Termux.
apt update
apt-upgrade
apt-get install git
cd MNSLock
chmod +x install.sh
bash install.sh
Or Use A Single Command.
cd && apt update && apt upgrade && apt install git && git clone https://github.com/SirManishKumar/MNSLock && cd MNSLock && chmod +x install.sh && bash install.sh
Step 2:
Now you will see “Enter New Password” just type any password you want in my case I am typing Manish. Again press Enter and re-enter the same password and now you will see Login Installed!

Step 3:
Restart Termux and you will see the password field.
Now type your password here, you will be able to see what you are typing but just type the correct password and press Enter and if you type the correct password it will let you use Termux. If you type the wrong password it will give an error and Termux will close automatically

Update your password in MNSLock.

How to update the password.
Just paste the below code and you will see the password field again just type the new password and retype the same password and your password will be updated.
cd && cd MNSLock && bash install.sh
Remove MNSLock.
Just copy and paste this command and MNSLock will be permanently uninstalled from your Termux. Also the MNSLock folder will be completely removed from your system.
cd && cd MNSLock && rm $PREFIX/bin/login.py && cp old_login $PREFIX/bin/login && chmod 700 $PREFIX/bin/login && echo termux-login removed && cd && rm -rf MNSLock
Conclusion.
MNSLock is a great way to change the feel of your Termux as well as add security. I’ve made the installation very simple for you, if you have any questions or something isn’t working in MNSLock please let us know and we will fix it right away.
Read This Post In Hindi..
Go Home
Discover more from MNS.Code.Blog
Subscribe to get the latest posts sent to your email.
