

Home Page Termux Tools
List Of Best Termux Tool And Pkgs Used By Professionals 2025-26
The Termux tools that we are going to mention below are equal to all those thousand tools. So let’s get started.
1. Metasploit Framework
Metasploit is more than just a Termux tool. It is a collection of exploit tools, I would call Metasploit an infrastructure that you can use to create your own tools.
This free tool is one of the most popular tools in the field of information security, which allows you to find vulnerabilities on various platforms.
Metasploit has support for over 200,000 users and employees to help you get the information you need and identify vulnerabilities in your system.
This hacking toolkit will allow you to simulate real hacker attacks to identify vulnerabilities.
Metasploit is supported on all major platforms. As well as you can install Metasploit in Termux also.
How to install Metasploit on Termux
 $ apt update
 $ apt upgrade
 $ apt install git
 $ cd $HOME
 $ git clone http://github.com/rooted-cyber/Metasploit-Installation
 $ cd Metasploit-Installation
 $ termux-setup-storage
 $ bash setup.sh
 $ bash metasploit.sh
open your Termux tool and type the following commands one by one and wait for each command to get finished.
pkg update
pkg upgrade -y
pkg install unstable-repo
pkg install metasploit
After typing all the commands one by one Metasploit in Termux will be installed successfully. After the successful install of Metasploit type the below command to run the tool.
msfconsole
How to Hack My Wife phone using Termux with Metasploit.
How To Hack Call Logs, SMS, Camera Using Metasploit
2. Nmap
Nmap, also known as Network Mapper, is a port scanning tool. This free hacking tool is the most popular port scanner for efficient network discovery and security monitoring.
Nmap is used for a wide range of services, Nmap uses Raw IP packets to determine the hosts available on the network, their services with detailed information, operating systems, types of firewalls, and other information.
Over the past year, Nmap has won several security awards and has been featured in films such as Matrix Reboot, Die Hard 4, and others. Nmap has both console support and a GUI application.
But in Termux we can only use the Command-line interface of Nmap.
How to install Nmap on Termux
Open your Termux app and type the following commands:
pkg update
pkg upgrade -y
pkg install curl
pkg install nmap
3. Wireshark
Wireshark is a well-known professional tool that can detect vulnerabilities within a network and among many firewall rules.
Wireshark is used by thousands of security professionals to analyze networks, capture sent packets, and carefully scan hundreds of protocols.
Wireshark helps you read real-time data from Ethernet, IEEE 802.11, PPP / HDLC, ATM, Bluetooth, USB, Token Ring, Frame Relay, FDDI, and other sources.
The original name of this free Ethereal tool. Wireshark has command line support; this version is called TShark.
How to install Wireshark in Termux
First, we need to update our repository by typing the following command in the Termux.
apt update
apt upgrade -y
Now type the following command in the Termux and press Enter.
pkg install x11-repo
wait until the process to be finished.
Now we need to install Wireshark by typing the following command:
apt install wireshark-gtk
Wait for the installation to be finished. It will take approx 4 to 5 min to install Wireshark. It can take more depending on your internet speed.
Install Required Tools
Wireshark has a Graphical User Interface (GUI), while we can run only the Command-line interface tool in Termux. In order to run Wireshark on Termux, we need to install some tools that will help us to run Wireshark on Termux.
Follow below commands:
pkg install xterm
apt install tigervnc
apt install tigervnc-viewer
Note: Type command one by one and wait until the installation to get finished.
Now we have to configure Tigervnc in order to configure Tigervnc run command vncserver and press enter.
vncserver
If it is your first time you are running this command then it will ask you to enter the VNC password. You can enter any password you want. But you must remember the password that you type.
In order for the GUI application to use display, you must set the environment variable with the command
export DISPLAY=”:1″
now the final step, we need to install a VNC viewer remote desktop application for android. VNC viewer will help us to run Wireshark in GUI mode. You can simply install the VNC viewer from Google Playstore
Download VNC viewer for android
After successfully installing the VNC viewer. Open the VNC viewer application on your android device.
After opening the application click on + sign.
Normally VNC server listens at the localhost i.e 127.0.0.1 and 5901 port.
On Address field add: 127.0.0.1:5901
And on the name field, you can add anything you like for example Termux, Desktop, Wireshark etc.
And then click create. After this, you will be promoted to add the password. Now type the password that you have typed at the time of configuring the VNC server.
Now you are successfully connected. You will see the terminal in the VNC viewer simply type the following command in VNC viewer order to run Wireshark:
wireshark-gtk
Hence we have successfully installed and run Wireshark on Termux without any kind of error.
To run the Wireshark again simply open Termux and type the following command to run the VNC server.
vncserver
Then type the following command:
export DISPLAY=”:1″
Then go to your Android menu and open VNC viewer android application and click on your machine. Type the password and click on continue. In VNC terminal type following command:
wireshark-gtk
4. SQLMAP
The SQLMAP program allows you to check sites for the presence of SQL injection vulnerabilities, XSS vulnerabilities, as well as exploit SQL injection. A variety of types of SQL injection and a variety of databases are supported.
Still, there are millions of websites are available on the internet that is vulnerable to SQL injection vulnerability.
With the help of SQLMAP, you can run checks on your website to see that your website is vulnerable to SQL injection vulnerability or not.
SQLMAP is available for all major platforms. You can also install SQLMAP on Termux.
How to install SQLMAP on Termux
Open your Termux and type the following commands one by one to install SQLMAP.
pkg update
pkg upgrade -y
apt install python python2
pkg install git
git clone https://github.com/sqlmapproject/sqlmap
cd sqlmap
chmod +x sqlmap.py
python2 sqlmap.py
Hence the SQLMAP is successfully installed in your Termux.
5. Social Engineering Toolkit
Featured in Mr. Robot, TrustedSec’s Social-Engineer Toolkit is an advanced framework that simulates several types of attacks in the field of social engineering, for example, credential collection, phishing attacks, etc.
At Elliot, one can observe that they are using the ability to replace SMS from the Social-Engineer Toolkit.
This tool is written in Python and is the standard test for protection against unauthorized access in the field of social engineering with more than two million downloads.
It automates attacks and generates hidden emails, malicious web pages, etc.
How to install Social Engineering Toolkit on Termux
pkg update
pkg upgrade -y
apt install curl -y
curl -LO https://raw.githubusercontent.com/Hax4us/setoolkit/master/setoolkit.sh
sh setoolkit.sh
After finishing the above process type the following command
cd setoolkit
./setup.py install
./setoolkit
That’s it Social Engineering toolkit installed in your Termux.
6. Nikto
Nikto is a tool developed in Perl, whose objective is to provide advice on WEB servers, falling into the category of vulnerability scanners.
It was developed to find different types of files, configurations, and standard or insecure programs, on WEB servers.
Remembering that Nikto will not look for SQL Injection problems or improper authorizations, as well as open ports or active firewalls. It will simply scan the website for interesting files and settings, which can be passive to an attack.
How to install Nikto on Termux
Open your Termux and type the following commands one by one:
apt update
apt upgrade
pkg install git
pkg install perl
git clone https://github.com/sullo/nikto.git
cd nikto
cd program
To run the scan with Nikto type the below command
Note: Replace <Target Website> with the website on which you want to run the scan
perl nikto.pl -h <Target Website>
That’s it Nikto has been installed in your Termux.
7. Tool-X
Tool-X is one of the best hacking tools specially designed for Termux. With the help of Tool-X, you can easily install 371+ hacking tools for Termux with just one click.
The Tool-X is developed by Rajkumar Dusad. Before the invention of this tool, we need to install the necessary Termux hacking tools one by one by searching on Github or on another website.
Now you just need to install one tool named Tool-X. This tool has a list of all necessary Termux hacking tools, After installing Tool-X in your Termux you can easily install your favorite hacking tools with just one click.
How to install Tool-X on Termux
Open your Termux and type the following command one by one
pkg update
pkg upgrade -y
pkg install git
cd Tool-X
chmod +x install.aex
sh install. aex
./install.aex
Hence the Tool-X is installed in your Termux. To run this tool simply type the below command.
8. Fsociety Toolkit
If you get to this point, then you can assume that you are lucky, now we will install a repository in which all the penetration testing tools that appeared on the Mr.Robot series.
Fsociety Toolkit contains all the Termux hacking tools that are appeared on the Mr.Robot series.
How to install Fsociety Toolkit on Termux
Open your Termux and type the below commands one by one to install Fsociety Toolkit.
pkg update
pkg upgrade
pkg install git
pkg install python2
git clone https://github.com/Manisso/fsociety.git
cd fsociety
chmod +x
install.sh
That’s it Fsociety is installed in your Termux. You can simply go to the society directory and type the following command to run the tool
python2 fsociety.py
Now you can install and download any tool of Fsociety that you want in 1 click.
If you face any problem while installing Fsociety then you can simply watch the below video on How to install Fsociety in Termux.
9. Hydra
Hydra is one of the most powerful Termux tools used to brute force Username and Password of services such as. telnet, ssh, FTP, etc.
Hydra is the best brute force tool to crack usernames and passwords.
How to install Hydra on Termux
The installation of Hydra in Termux is very simple. Just open your Termux and type the following commands
pkg update && pkg upgrade -y
pkg install hydra
That’s it Hydra has been installed in your Termux.
To see the usage of Hydra simply type the following command:
hydra -h
The above command will guide you on how to use Hydra in Termux.
10. Slowloris
Slowloris is Low bandwidth Dos Hacking app. The tool is rewritten in Python. The tool performs an HTTP Denial of Service attack that slows down or makes the small servers crash.
You can also use this tool to perform a Dos attack on the website.
The tool simply creates a lot of HTTP requests and sends headers periodically to keep the connection open.
The tool never closes the connection unless the server does so. As the server closes the connection the new connection has been created, As a result, the server goes down or doesn’t reply.
How to install Slowloris on Termux
Open your Termux and type the following commands one by one
pkg update && pkg upgrade -y
pkg install python
pkg install slowloris
Hence the slowloris is installed in your Termux. Now simply type the below command to see how to use slowloris.
slowloris
11. Zphisher
Zphisher is one of the best hacking tools for Termux. If you are looking for a Termux tool that can be used for phishing then Zphisher will be the best tool for you.
Basically, it is an advanced version of the phishing tool kit and an upgraded version of shellphish. Inside Zphisher you will get the tunneling option from 4 tools that are Ngrok, Localhost, Serveo.net, and localhost.run.
Zphisher has up to 30+ social media phishing pages and all the pages are in working condition. This feature makes it one of the best phishing tools for Termux.
How to install Zphisher on Termux
To install Zphisher on Termux then, Open your Termux and type the below commands one by one and wait for each command to be finished.
pkg update && pkg upgrade -y
apt install git curl php openssh -y
git clone git://github.com/htr-tech/zphisher.git
cd zphisher
That’s it, To run the Zphisher simply type the below command:
bash zphisher.sh
12. IP Tracer
If you are looking for a Termux tool that can trace the IP address of the victim, then IP tracer will be the best Termux tools for you to trace the IP address.
IP Tracer is coded in PHP and shell. IP Tracer uses ip-api to track the ip address of the user. The tool is already downloaded by thousands of Termux users.
IP Tracer is specially developed by Termux, So you can easily trace the IP of anyone by using this Termux tool. Now let’s see how to install this tool in your Termux.
How to install IP Tracer on Termux
Open your Termux and type the below mentioned commands one by one to install IP Tracer in Termux.
apt update
apt install git -y
git clone https://github.com/rajkumardusad/IP-Tracer.git
cd IP-Tracer
chmod +x install
sh install
or
./install
That’s it after using these above-mentioned commands IP tracer will be installed in your Termux.
13. EasY_HaCk
It is one of the best tools for Termux. EasY_HaCk tool is developed by Sabri.Zaki. It is a tool for network scanning, information gathering, and exploiting android phones and Windows pcs.
The tool is mainly for penetration testing purposes and it contains some popular tools such as Metasploit framework, SQLmap, nmap, Metagoofil, RED HAWK, recon-ng, and much more powerful testing tools.
Initially, you can use this tool to perform things like Payload Generation, Metasploit-Framework installation, Beef-Framework installation, NGROK installation, Network scanning using nmap, web hacking, password cracking, and Starting your web server.
How to install EasY_HaCk in Termux
Open your Termux and type the below commands one by one:
pkg update && pkg upgrade -y
pkg install git
git clone https://github.com/sabri-zaki/EasY_HaCk
cd EasY_HaCk/
chmod +x install.sh
./install.sh
Now type EasY-HaCk to start the tool.
14. Seeker
A seeker is a tool used to find out the exact location of the person remotely. Seeker allows you to host a website on a PHP server. It uses Serveo or Ngrok to generate a link. The link can be forwarded to the target. As the target opens the website, It asks for location permission and if the target allows it, we can get the exact location of the target along with the direction on Google Maps.
A seeker can be used in Termux as a tool to find out the exact location of the person. Now let’s see how to install this tool on Termux.
How to install Seeker in Termux
Open your Termux and type the command one by one.
sudo apt-get update
sudo apt-get install python3 python3-pip php ssh git
pip3 install requests
git clone https://github.com/thewhiteh4t/seeker
cd seeker
python3 ./seeker.py -h
If you are confused about how to use seeker then you can see this article: How to find out the exact location of the user by using Seeker.
15. Infect
Infect is a Termux package that allows you to create and send viruses to any Android device. Viruses can be sent through the link. You can also save an infected Android device from viruses by selecting the “save now” option in your Termux.
How to install Infect in Termux
Here are the installation commands that you need to type after opening the Termux:
pkg update && pkg upgrade -y
pkg install python python2 -y
pkg install git -y
pip install lolcat
git clone https://github.com/noob-hackers/infect
cd infect
bash infect.sh
16. How to Install Kali Linux on Android without Root?
Kali Linux is one of the best-operating systems to work on, especially for Hackers and Programmers. Installing Linux on an Android device unlocks a variety of features which include running web-based applications on your Android device, install and use Linux applications, rather you can run a graphical desktop environment on it.
Linux has the capability to turn an Android device into a portable network troubleshooting or pen-testing device. Install Kali Linux on your unrooted Android device using the steps listed below.
Requirements :

1.Open the Termux App in the Google Play Store or click the above link.
2. Download and install a VNC viewer application from Google Play Store or from the above link.
What are the requirements for Termux installation?
- Download Hacker Keyboard For Termux-Hacker’s keyboard.
Installation of Kali Linux on Android :
1. First, open the Termux application.
Update and Upgrade the packages that are pre-installed in the Termux by using this command :
apt update && apt upgrade -y
Press Enter.

2. Now the packages are updated. Next, install Fish packages on your Termux application.
pkg install fish -y
It’ll take some time to install. Try to keep your internet/wi-fi connectivity at maximum speed for quick installations.
3. After package installation, enter this command to enable the fish mode terminal.
fish
4. Now you are in fish mode. Next step is, enabling your phone storage access in Termux.
By default, all files created by Termux are only available through the Termux session. To access files outside Termux, we should provide storage access permission using the command :
termux-setup-storage
After executing this command, it’ll ask for storage permission. Click allow.

5. Next, install wget on your termux.
pkg install wget -y
6. The next step is to install Kali Linux on Android.
wget -O install-nethunter-termux https://offs.ec/2MceZWr
7. After installation of Nethunter, you’ll find an “install-nethunter-termux” file.

To access the file, first change it’s mode by using this command :
chmod +x install-nethunter-termux
Now the permissions are changed.
8. Now with all the permissions changed, the file is ready to download the Kali Linux file from the source.
./install-nethunter-termux
It will download and store the kali Linux file into your phone storage. The file size is around 1.5 GB. It will take about 20–30 minutes for complete download. Try to keep your internet/wi-fi connectivity at maximum speed for quick installation.

So wait and download. Don’t exit the Termux session.
After installation is completed, the rootfs file will get extracted. It’s kind of a booting mechanism. This may take around 10 minutes. After that, the terminal will prompt this question: Delete downloaded rootfs file? [y/N]. Enter y to delete the extracted files.
Immediately the Nethunter will get configured and the session is started.

9. After downloading the kali Linux file, Now you need to set a kex or vnc password by using the following command :
nethunter kex passwd
Set your password with at least 8 characters. Again enter your password to verify your password. After verification, your VNC password is set successfully.
10. Now your kali Linux is configured successfully on your Android phone.
Next, you need to start the kex (VNC) server.
nethunter kex &
The VNC server will start. And you can see your assigned port number (5901). Note down this number since it’s required to connect with the desktop view using the VNC viewer.

11. The next step is to connect the Kali Linux desktop version with the help of VNC Viewer. Just minimize your Termux app, Don’t exit the session.

Open the VNC viewer application. Click on the plus icon to create a profile. It will ask for an IP address and machine name.
Enter as localhost:port number (5901) in the place of address and enter any name for your machine. Then save the connection.
Once you try to connect with the machine, the authentication panel will prompt for a password. There you enter your terminal password and click on continue.
It will automatically connect your Kali Linux desktop with your VNC viewer software.
Now you can run & install any packages with Desktop Environment on your Android Phone.

17. What is MyServer ?

MyServer is your own localhost server. you can setup PHP, Apache web servers on your android devices or linux like Ubuntu etc. MyServer is Developed for android terminal like Termux or GNURoot Debian terminal. You can setup your localhost server and access from internet. you can host your website and test your website.
How to use MyServer ?

CLI Use :
Example : myserver -s -ng localhost 8080 /home/www
myserver -s <hostname/ip> <localhost_port> <document_root_path> to start default localhost server.
myserver -s -ng <hostname/ip> <localhost_port> <document_root_path> to start Nginx web server.
myserver -s -php <hostname/ip> <localhost_port> <document_root_path> to start php localhost server.
myserver -s -py <hostname/ip> <localhost_port> <document_root_path> to start python localhost server.
myserver -h <domain_name> <localhost_port> <http_port/https_port> to access localhost server on internet.
myserver -db [start/stop] to start/stop mysql database server.
myserver -s apache to start apache web server.
myserver update to update MyServer.
myserver rm -t to uninstall MyServer.
myserver start to start MyServer menu.
myserver -s to start Server that was previously running.
myserver -h to access from web that was previously accessed.
Menual Use :
- Type 1 : to start your localhost web server.
- Type 2 : to access your website from internet.
- Type 3 : to start MySQL Database server.
- Type 4 : to start menual localhost server.
- Type 5 : to menual host.
- Type 6 : to update MyServer.
- Type 7 : for server setting.
- Type 8 : to about us.
- Type x : to exit.
MyServer Support :
- Apache2 server.
- Nginx server.
- PHP server.
- Python web server.
- MySQL Database server.
MyServer is available for :
- Android
- Ubuntu
- Linux
How to Install MyServer ?
Open the termux app and type following commands.
apt update
apt install git
cd MyServer
chmod +x install
sh install if not work than type ./install
Now MyServer is installed successfully.
Now type myserver start to start MyServer.
18. Backing up Termux
Here is shown how to backup and restore your Termux installation. It is highly recommended to understand what commands listed here do before copy-pasting them. Misunderstanding the purpose of each step may irrecoverably damage your data, if that happened to you – do not complain.
Backing up
In this example, a backup of both home and sysroot will be shown. The resulting archive will be stored on your shared storage (/sdcard) and compressed with gzip.
1. Ensure that storage permission is granted:
termux-setup-storage
2. Go to Termux base directory:
cd /data/data/com.termux/files
3. Backing up files:
tar -zcvf /sdcard/termux-backup.tar.gz home usr
Backup should be finished without any error. There shouldn’t be any permission denials unless the user abused root permissions. Warnings about sockets are okay.
Warning: never store your backups in Termux private directories. Their paths may look like:
/data/data/com.termux                       - private Termux directory on internal storage
/sdcard/Android/data/com.termux             - private Termux directory on shared storage
/storage/XXXX-XXXX/Android/data/com.termux  - private Termux directory on external storage, XXXX-XXXX is the UUID of your micro-sd card.
${HOME}/storage/external-1                  - alias for Termux private directory on your micro-sd.
Once you clear Termux data from settings, these directories are erased too.
Restoring
Here will be assumed that you have backed up both home and usr directory into same archive. Please note that all files would be overwritten during the process.
1. Ensure that storage permission is granted:
termux-setup-storage
2. Go to Termux base directory:
cd /data/data/com.termux/files
3. Extract home and usr with overwriting everything and deleting stale files:
tar -zxf /sdcard/termux-backup.tar.gz --recursive-unlink --preserve-permissions
Now close Termux with the “exit” button from notification and open it again.
19. Basic commands in termux.
Termux is a great tool that allows you to access and Use advanced Linux tools without root on your android phone. Termux is Command-line based and to use this app the most basic thing you should know is commands. in this post we are going to learn about the most basic commands in the termux app.

If you know all the commands below you can easily navigate in termux and please practice this command so you can learn more advanced stuff more easily. if you wanna know why you must learn termux then check this post.[what is termux?]
List of All the Termux Basic Commands:
You can run this command in a sequence to practice and know yourself how these commands work on termux.if you have any questions or ideas please comment I will be happy to help you.>Note: If any part of the command is green that means it is a variable. The green part of the code will change according to the situation.
Update all the packages and dependencies installed on the system:
apt update && apt upgrade
If any update is available it will ask you on the terminal if you want to upgrade or not, press Y if you want the update.
Grant storage permission:
termux-setup-storage
now you can access your Storage and all the folder in it using termux.
Know Which directory you are in:
pwd
This command will tell you, your present working directory
List all the files and directories:
ls
this command will show you the folder and files in your current working directory.
List all the files and directories including Hidden Files:
ls -a
ls command with -a will show you all the hidden files as well.
Move forward in directories:
cd storage
cd command allows you to move in a folder just type cd and the folder name you wanna move here I am moving in storage.
Move backward in directories:
cd ..
by typing cd ..(between cd and .. we have to put space) you will go back in the directory you were in.
Clear Screen:
clear
by typing clear in the termux you can clear all the previous results.
Create a folder or a directory:
mkdir folderName
mkdir Stand for make directory. Type mkdir and give a space and type folder name and press enter to see the folder you have just created just type ls.
Delete a folder or a directory:
rmdir folderName
Rmdir stands for Remove Directory.Type rmdir space folder name to remove that folder.
Delete Non-Empty directory or folder in termux:
rm -rf folderName
Please use this command with caution. This command will remove a folder and all the files and folders within it. This command is useful when you want to delete any project downloaded from Github.
Copy a file from one directory to another directory:
cp files-name file-path
You can copy files by typing cp the file name and after giving a space you can type the path where you wanna copy the file E.g: cp virus.apk /storage/shared this will copy the virus.apk to the storage/shared folder.
Move a file from one directory to another directory:
mv files-name file-path
You can move files by typing mv the file name and after giving a space you can type the path where you wanna move the file E.g: mv virus.apk /storage/shared this will move the virus.apk to the storage/shared folder.
To rename a file You have to command as the following syntax
mv old-file-name new-file-name
Search for the specific package in termux:
pkg search package-name
It will show you all the package related to that package name.
How to Remove termux Welcome screen Text ?
Open app and run below commands
Type cd .. Press enter
Type ls Press enter
Type cd usr/etc Press enter
Type ls Press enter
Type rm -rf motd Press enter
Now exit from Termux by typing command exit
And open Termux again. Now you will see, text removed from here or can say that its blank now.
See the Details of a Package in Termux:
apt show nanoThis command will show you the complete detail of a package.
List all the available packages in termux:
pkg list-all
it will show you all the packages that are available in the APT repository of termux.
Install a Package:
pkg install packageName
you can install any package from the list, just type pkg install package-name.
Uninstall a Package:
pkg uninstall packageName
you can uninstall any package from the list, just type pkg uninstall package-name.it will ask you where if you wanna delete the package or not press y and the package will be uninstalled.
Install Python in termux:
pkg install python
Just type this command and it will be installed in your termux press y if it asks for confirmation.after installing python you can write code and also run your own python scripts. Type python to check if python is installed correctly or not.
Install Git in termux:
pkg install gitGit will allow you to download any project from GitHub.
Download projects from GitHub repository
git clone Link-of-the-project
If you want to download any project from the git hub you can just use the above just change the Link-of-the-project with your link
e.g: git clone https://github.com/SirManishKumar/Termux-YTD
Check all the running processes in Termux:
top
This command will show you all the tasks running on your termux. To quit the top command on termux just press CTRL+C on your keyboard.
Make any bash file Executable :
chmod +x filename
If you are trying to run any bash file and you are getting a permission denied error then you can use the above command to make it executable
Create a text file in termux:
- first, you have to download a package name nano. Type on termux pkg install nano press y when asking for confirmation.
- type nano on the terminal.
- type anything you want I am typing hello world.
- Press CTRL+X and press Y to save the file.
- Give the file name anyname.txt and press enter.
- Type ls command to see your directory.
See what’s inside a text file:
cat file-name
Run this command and everything in the text file will be printed on the terminal.
e.g: cat data.txt
Delete a file in termux:
rm file-name
To delete any file within the directory in, just type the rm name of your file and press enter and it will be deleted.
e.g: rm data.txt
List all the installed Packages in termux:
dpkg –list
By Using this command You will be able to see all the installed packages in your termux app.
List all commands that You have used in termux:
history
This command will give you a list of all the recent commands that you have used in termux.
Check your Username :
whoami
This will show you the user-name in your termux.
Check your Termux usage time :
uptime
This will show, How much time you have spent using termux.
Check your Kernel info in Termux:
uname -a
This will show you info about your system as well as you can also check your Architecture using this command.
Check your Memory Usage in Termux:
free -h -t
This will show you the amount of free and used memory in the system
This article is for educational purposes only. The author of this website and the creators of these tools are not responsible for any illegal activity done by these tools.
Note: You don’t need to root your Android device to use these tools. You can use all mentioned above hacking tools for Termux without root.
Hence these were the 15 best hacking tools for Termux. If you find any error in installing the above tools then feel free to comment below. We are always here to solve your error.
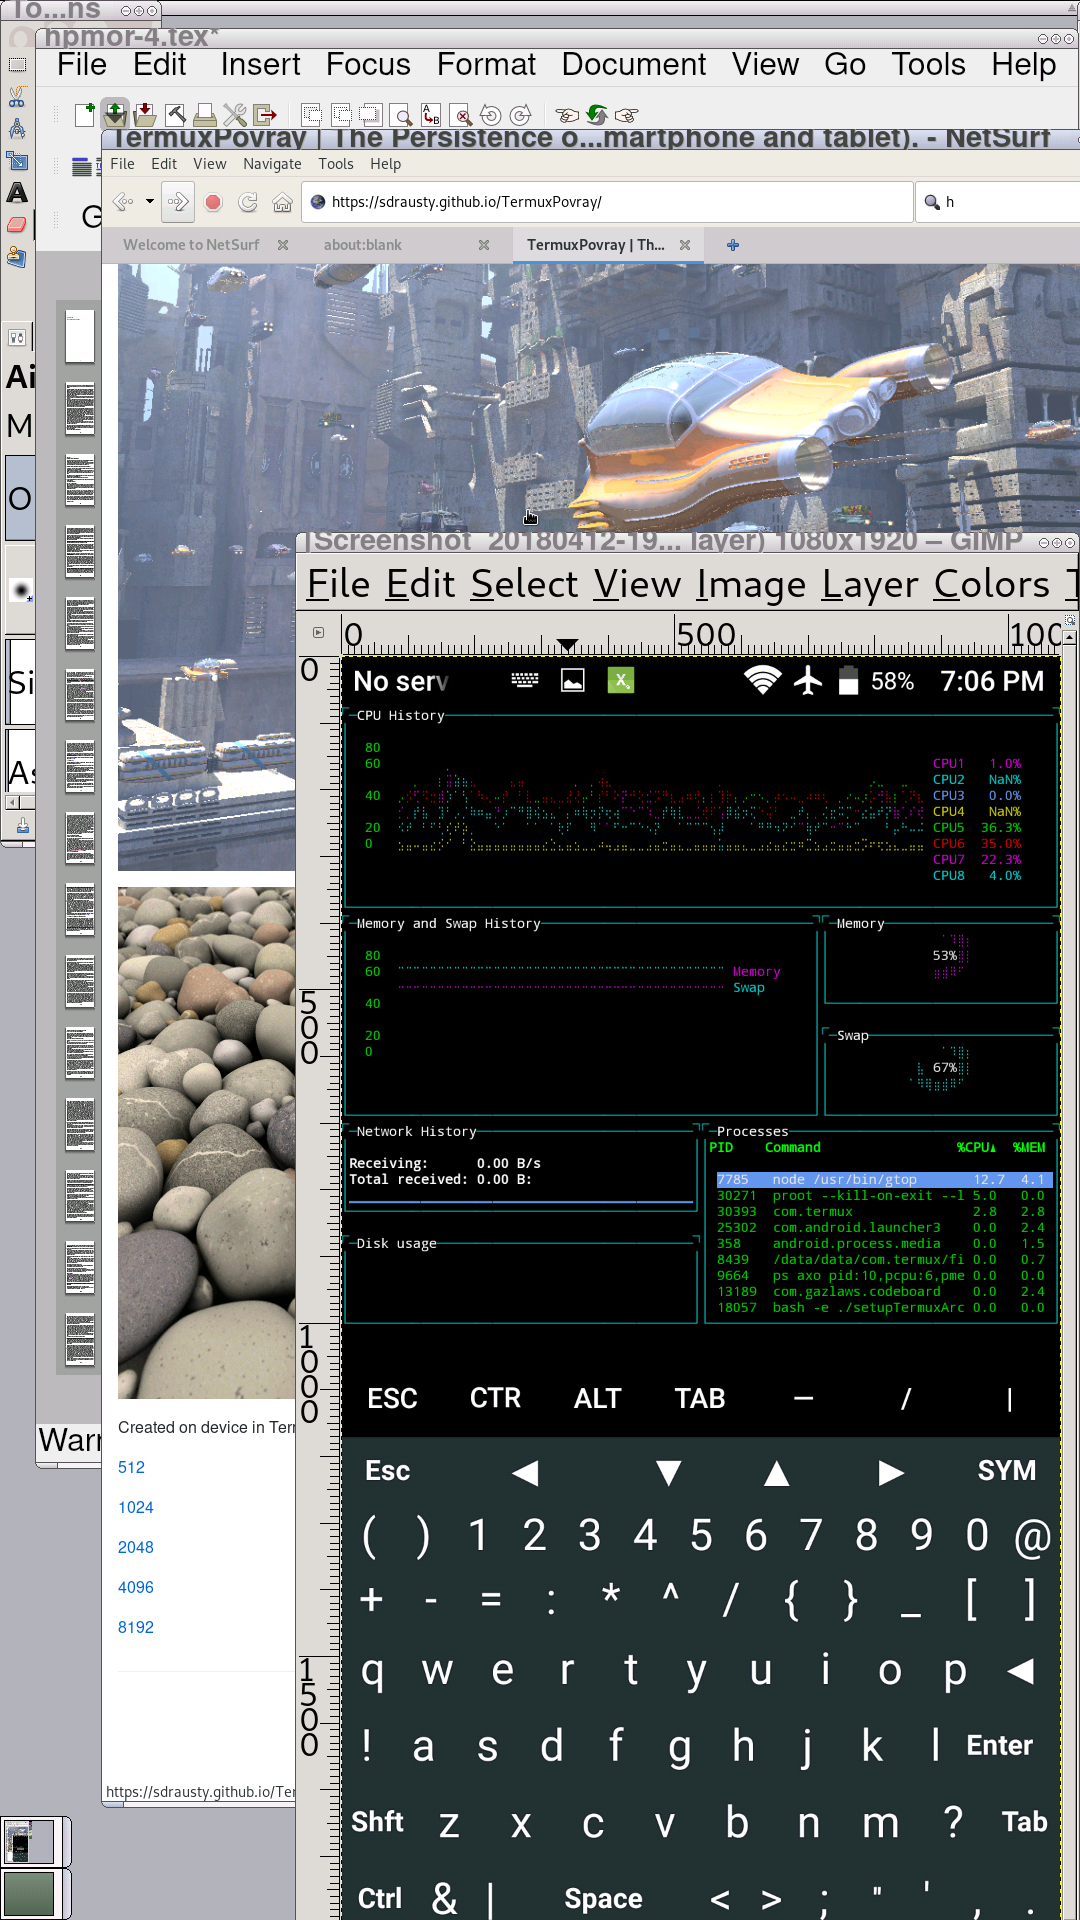
20. DocsTermuxArch
docsTermuxArch https://termuxarch.github.io/docsTermuxArch/
-rwxrwx— setupTermuxArch.sh
-r–r–r– setupTermuxArch.sh
Prerequisites: minimum of about 1GB free in userspace on device, if you want to have some fun on your device and working knowledge of vimtutor is recommended. There are many ways to run this setup script on device. Please use the bash shell for installation and execution of setupTermuxArch.sh. Here are some methods:
(1) This method can be run by tapping this link which should download setupTermuxArch.sh into your ~/storage/downloads/ directory on your smartphone and tablet. If short tapping this link does not download setupTermuxArch.sh from your web browser, try long tap and choose download file from the popup menu. Install Arch Linux in Termux PRoot by simply running the next line of code in Termux:
bash ~/storage/downloads/setupTermuxArch.sh
Ensure Termux storage is correctly setup for this method to work. It is necessary to grant storage permission for Termux on Android 6 and higher. Use ‘Settings>Apps>Termux>Permissions>Storage’ and set to true. Then execute termux-setup-storage. See Termux Setup Storage for details. You want Termux storage to be set up correctly anyway, since it is also used by Arch Linux in Termux.
(2) Run the following command lines in bash to install Arch Linux in Termux on your device. Run each of the following command lines separately. Running them all at once may generate errors; Hint, copy and paste the following into the Termux window:
pkg install git
cd && git clone https://github.com/sdrausty/TermuxArch
bash TermuxArch/setupTermuxArch.sh
Should you choose this option, the preferred method to work on projects at GitHub, clone to native space on device when you can. See “Notice to Collaborators” for more information about collaborating. This repository uses submodules. To get all the pieces run scripts/maintenance/pullTermuxArchSubmodules.sh in the root directory after cloning.
(3) Copy and paste the following command lines into your Termux bash command shell:
pkg install wget
wget https://sdrausty.github.io/TermuxArch/setupTermuxArch.sh
bash setupTermuxArch.sh
To add Archstrike and Blackarch distributions follow these steps. Use https://sdrausty.github.io/TermuxArch/ to install, update and configure Arch Linux on device first.
Then edit your /etc/pacman.conf by adding:
[archstrike]
Server = https://mirror.archstrike.org/$arch/$repo
[blackarch]
Server = http://blackarch.org/blackarch/$repo/os/$arch
Next run pacman -Syu to update your repository listing. To install either distribution, run one of these commands:
pacman -S archstrike –needed
pacman -S blackarch –needed
:: There are 663 members in group archstrike: ~2G download (~6G on device)
:: There are 1602 members in group blackarch: ~5G download (~16G on device)
That’s a lot of pentesting. If you don’t desire this much pentesting, don’t install everything.
To search only for packages, use pacman -Ss {query}. To install, use pacman -S {package}.
Enjoy 😀
This setup script will attempt to set Arch Linux up in your Termux. When successfully completed, you will be at a bash prompt in Arch Linux in Termux using an Android smartphone, tablet or a Chromebook.

- Comments are welcome here ✍
- Pull requests are welcome here ✍
Thanks for making this project work; Please contribute 🔆 See Notice to Collaborators for more information. PRoot has more information about Linux on device in Termux.
